The previous challenge that we took an in depth look at was the El Yeti challenge, this next challenge is also made intriguing thanks to another interesting backstory in the Wildlands of Bolivia.
Here’s the video for this spooky halloween special event….
As revealed in the trailer above there are special customisations available for successfully competing this challenge.
The image above would suggest that there is a miners helmet, and a El Tio face mask available in red and white variations.
Our guide below is spoiler free, so you can enjoy each of the secret locations as you uncover them. Simply open up the reveal boxes below to uncover the hints to get you to the secret areas.
The Background to El Tio Challenge
El Tio was first mentioned in the Legends of Wildlands article, where he was described as a god of the underworld, depicted with as a red horned devil with goat references. In the El Tio Special Event page the very first image reveals the first location the Ghosts must investigate to solve this puzzle – a candle lit shrine, and if you look hard enough, you can see a newspaper.

Wildlands challenges often reveal small but vital clues in the challenge details, so remember this for future challenges and special events. As can be seen above, the suggestion here is to look for a shrine, (or shrines) with many lit candles, and a newspaper on the steps.
The challenge requires to Ghost to investigate strange miner deaths that are suspected to be caused by a rogue Santa Blanca lieutenant going crazy, or is it really the curse of El Tio….?
This challenge is open until 1st November 2017, so let’s get down to it…
Complete this challenge and you will be rewarded with experience points and game resource
TOP TIP at each of the following locations you must wait for the on-screen notification before moving on to the next clue. This usually means finding the clues AND killing all enemies in the area. If you find a clue but do not get the message, an enemy must have escaped and is hiding close by… make sure you get that message before moving on!
Okay let’s break this down…
Find the Shrine Location(s)
The burial site can be found just South of Pucara at the Ancient Cemetery of Miners (-19.7654, 64.1198)

The Starting Point
The shrine locations are all to be found in the Ancient Cemetery of Miners shown above, however it is a massive cemetery with many shrines, how are we to find the exact shrine we require to track down El Tio? This is where Ubisoft’s artwork hint comes into play – several lit candles and a newspaper….
Obviously it is far easier to spot lit candles in the dark, so we suggest waiting until night and taking to the skies in a helicopter to find the shrine. Open up Step 1 below for more help if you become lost…. as each of the newspapers has a headline that leads to the next set of locations.
Step 1 : The Shrines
Here’s what a shrine location looks like at night, fly around close to the ground and you will soon find one….

Once you find the first newspaper, you will receive a message that you have completed 1 of 3, this tells us we have to find two more newspapers!

Fly around and quickly locate the final two newspapers, accompanied by strange sounds….
Still struggling to find them? Here are the exact co-ordinates and the headlines they reveal! Remember to click Investigate at each newspaper.
#1 : Latitude: -19.6640 Longitude: -64.0318 – PILCA MINE
#2 : Latitude: -19.7358 Longitude: -64.1272 – OLD SILVER MINE
#3 : Latitude: -19.6248 Longitude: -64.1514 – OUTPOST MINE

You may find another strange thing going on at this cemetery – a lone dog, barking at one particular shrine, that refuses to be moved on….
#1 : Pilca Mine
The first newspaper told us to head to Pilca mine. You’ll find Pilca mine in Pacura at -18.9945 -62.7432

Above is shown the rear entrance to the Pilca mine shown from a nearby hillside, below is a close up of this rear entrance.

The front entrance is heavily guarded, so the rear access shown above is my preferred way in…. however if you do decide to go in from the front at the railroad tracks, this is what it looks like…

When you enter from this side you will come to a split in the tracks, take the left turn, and you will some come across some more bad guys after hearing the groaning sound again to tell you that you’re on the right tracks.
Once again, there are a number of armed dudes working with tools to try and excavate the El Tio statue. If you properly investigated the newspapers, these guys will have red face paint on. Once you have taken them out, you will get the confirmation message. Don’t leave yet though, you need to take a look at the statue for the a hint to the final location “Ruin“.

#2 : Silver Mine
Once you have completed the previous step, you should jump back into your hel and go to the Silver Mine as directed by the second newspaper. You’ll know you are at the right place as a moaning sound will play, the same as when you discovered the newspapers. If you approach by foot from the top of the cliff, all this moaning and groaning can be quite disconcerting, very eerie and very cool!
Be careful though, this area is also guarded by armed guards.
Once inside the mine you will be greeted with a scene right out of this challenges trailer movie shown above, three guys working tools digging at the foot of the El Tio Statue!

Three against three seems like fair odds, except the rest of your team have decided that this location is too spooky, and may have refused to enter the cave with you! You’ll have to take care of these these guys on your own, once again, if all is well they will have red face paint on and as soon as you take them out you will be greeted with the mission confirmation. Once you have done this check out the statue and you will see it has “Pucara” written on it – this is your next hint word.
#3 : Outpost
The final statue location was revealed in the 3rd newspaper as Outpost Mine and can be found to the west of the Malca district, as shown below. If you scan the map you will see it is marked as “Outpost”, and the mine is close by, confirming this is the correct location!


This is quite a confusing cave complex but if you hear the mysterious groaning, and come across armed guards, you know you are on the right track. Eventually you will come across a store room with a prison cells, and right there will be the final statue, with the final clue!

Fortress? Read on….
Final Confrontation : The Pucara Fortress Ruin
So if we put all three statue clues together we get “Pucara Ruin Fortress“, we were actually very close to that previously, this is where we must return for the final showdown!
This is the location of the Ruin…

Here is El Tio – in the middle of his horrific ceremony. Time to reap some justice for the poor civilian miners….

Once you have done this, you will be notified of the El Tio mask reward, it’s a shame it got damaged in the firefight though!
BONUS : There’s a facepaint bonus if you use explosive to kill El Tio 5 times. (credit QuebraRegra)
Congrats on completing this challenge, now go upgrade your team with all those award points!
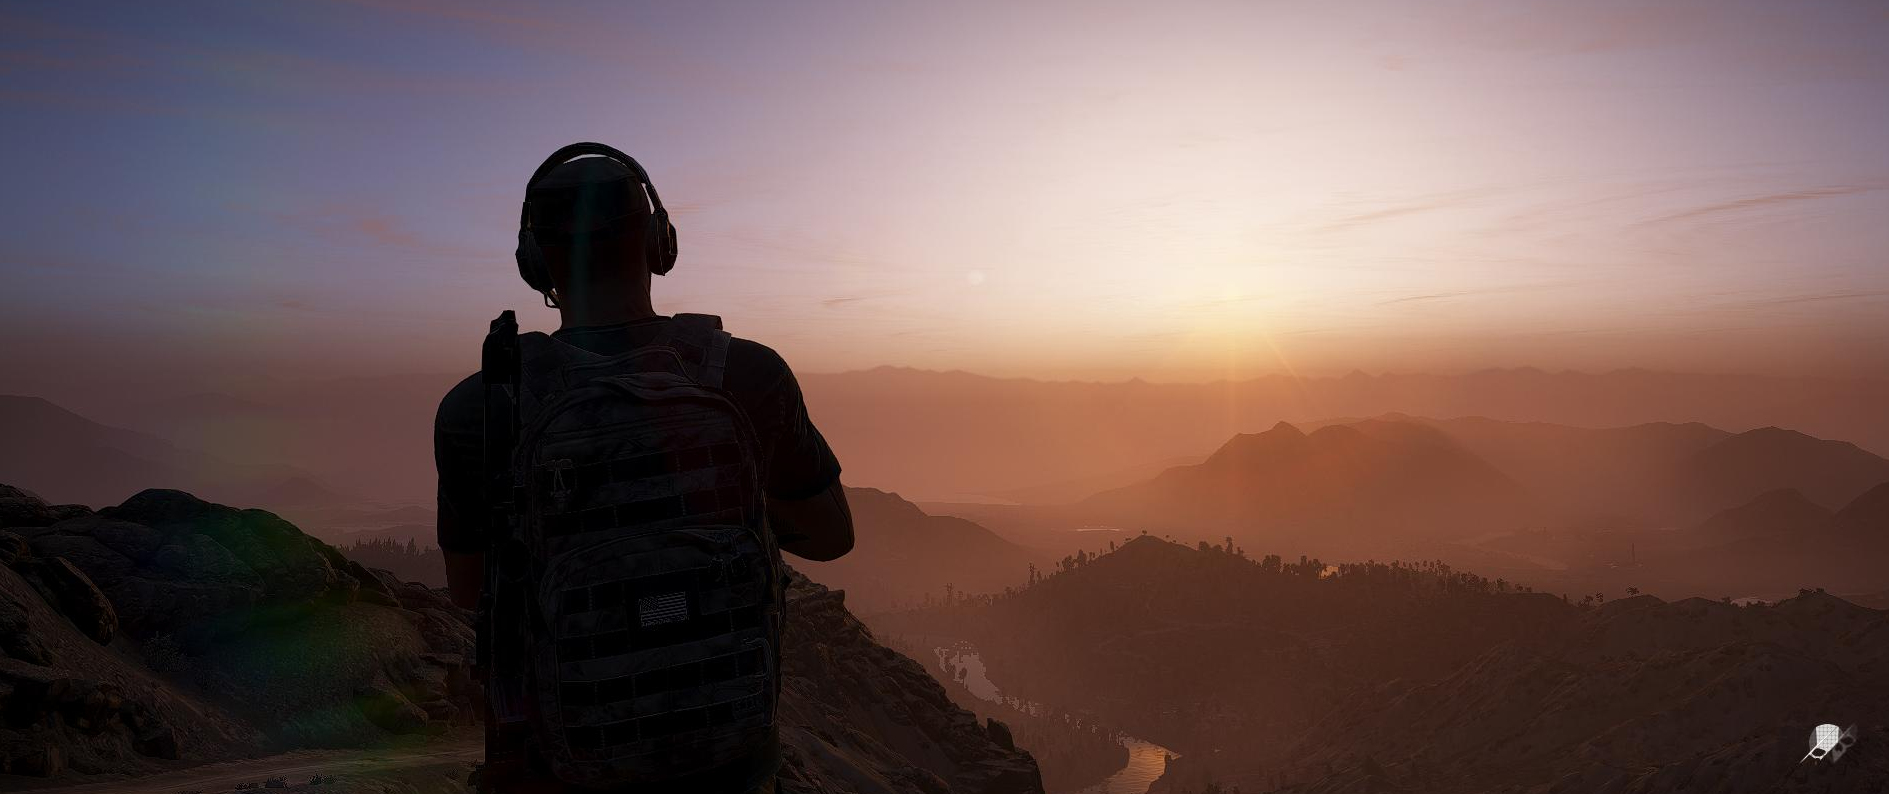
Hopefully you enjoyed some of the fantastic Wildlands Scenery along the way!
Need help or want to share your El Tio story – post here in our forums!
Thanks guys
Thanks for the walkthrough!!
Where is the silver mine at? You give locations to everything, but this one???
It’s the oldsilvermine and for me I didn’t get a cutscene but I got the completion notification. If you still can’t find it go to your map, hover over the fast travel point pucara alpha then move down youll see todos rock quarry, and move a little more down it’ll be old silver mine. Lat -194500 Long- 8985
Next to the quarry (to the right on the map) in pucara. Just follow THE road towords Malva and then you just need to take a left and You are there.
Lat:-19.4500
Long:-63.8985
anyone else stuck on two of the mines even though going through all three mines?
Yes, and it sucks. I don’t know how to move on.
Same here, and I cannot find the entrance to the Fortress
same thing happened to me….super frustrating
If its broad daylight at the cemetery, you can use thermal vision to help locate shrines with the brightest candles.
Forgot to add, Thanks for the walkthrough!
No problem, thanks for the feedback!
Last mine location keeps bugging out on me and won’t finish the challenge… any known fixes?
How is it bugging out exactly?
So the last statue in the outpost mine doesn’t pop the challenge complete, that all the others have, so when i go to the next section there is nothing there
For me, I have “completed” in the order you wrote. Objective 1 and 3 are completed, the 2nd one at the Old Silver Mine does not complete. Everybody are dead…
Okay, here’s what I’ve done. Exit the game to main menu. Restart and do it again. Do not get downed. Success!
Aaaaand if you want a shortcut, call in a motar strike. Everybody dies including the civilians…but who cares.
I had it bug as well. Eliminated everyone and went to the statue but it didn’t advance to the next stage.
I quit to desk top and relaunched the game and did it again to get it to work. Was the Pilca Mine btw.
Yeah the outpost mine is messing up on me too. Ive killed everyone in sight all the way up the mountain and inside the mine. Still wont give me the completion for the third.
For the outpost can u add the directions to reach the final statue?
Ok so i found the news papers and found all three mines with the statue with the clues. Proceded to ruins to only find 4 bad guys….no el tio, he didnt spawn for me 😑
I am having same prob with 2 of missions complete. Will not trigger fortress. I am on X-box. What to do?
If you die you gotta do it all again?